If you want to paste walls and floors, lay the tiles on the floor first to grout the walls in the order you are on the floor. Tile a wall Set the base of the bay, and then start tiling—the wall above the bay’s bottom. For adjacent walls, place the back wall first.
The bevel on the sidewall is not obvious. The length of your mosaic project will depend on the size of the wall you are lying on. Allow 30-45 minutes per square meter. Repair any structural defects in the room and ensure you have the skills needed for this home renovation: leveling, leveling, tiling, and grouting.
Tools
- Angle grinder
- Buckets
- Drill
- Dust mask
- Earmuffs
- Hammer
- Marker pen
- Measuring tape
- Mixing paddle
- Notch trowel
- Paint scraper
- Safety glasses
- Spirit level
- Tile cutter
1) Select the tile design
Therefore, you are in the position to start laying tiles. It’s time to order designs. This is very important because you want to lay as many whole tiles as possible on the wall while avoiding small cuts that look ugly.
Of course, you have to make a small cut in some rooms, but if you make a design before laying the tiles, you can minimize this possibility and place it in a part of the room that is not visible from the view. First, you have to discover the center of the wall. Use a tape measure to measure the width of the wall and cut it in half to find the center. Make a mark on the wall. Then use a vertical level to arrange in a line the spot and draw a line in the middle of the wall.
2) Fit a slating rod tile a wall
Unless you start with skirting boards, it is best to lay tiles on wooden poles screwed to the wall. It’s the phase to paste the rod to the wall. Use as many screws as needed to make it look strong because you need to support the tiles. Spirit level can be used to check your level. Now you can start laying tiles.
3) Spread on the tile adhesive tile a wall
So the stick is on the wall, and you should have to strike your starting point. It is also recommended that you wear safety glasses to prevent the glue from entering your eyes. When your wall is about to be covered with glue, mark an exit line on your cane, and the line will disappear.
Use a trowel to lightly blend the glue to release it so that it is easier to use when applying. Then carefully put it on the wall. No matter how thick and durable it is now, I need to hang it on the wall a little bit.
4) Tallying the wall tiles
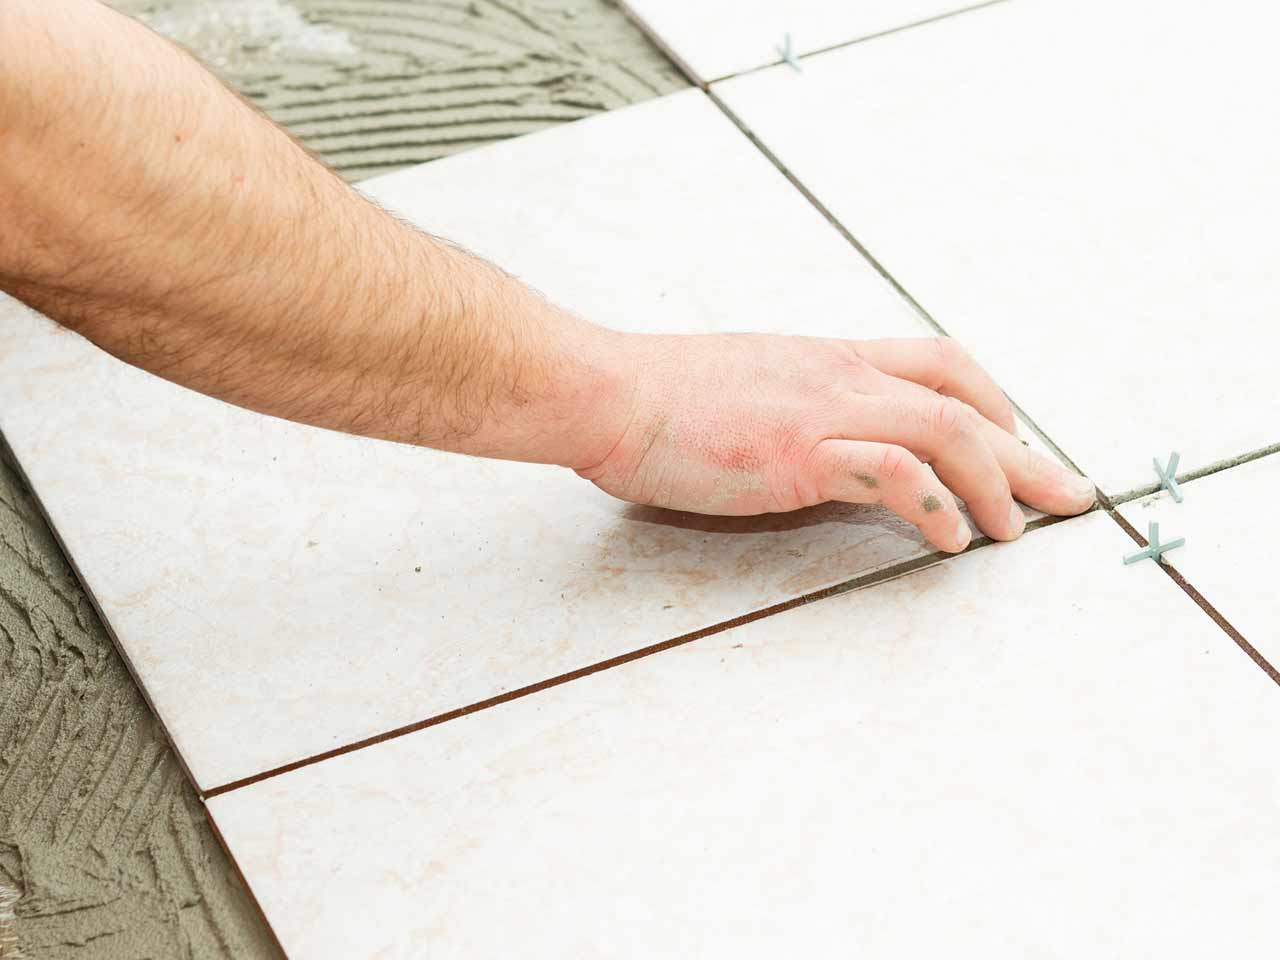
Put to one side the freshly cleaned tray and remove the first tile. Align with the marks on the paper and press into the glue. Press hard and gently shake from side to side to ensure a good grip. Succeed tile and fix it directly next to the first tile without any gaps.
Squeeze it hard again and move it slightly, then use your fingers to slide it away from the first tile gently. Enough to put it on your tiles.
5) Put on the filling to the wall tiles
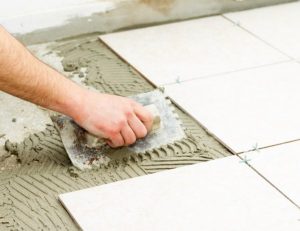
First, use a spoon to feast the scooped mortar on the trowel. When you have enough grout, press it on the exterior of the tile to start working. From left to right, then top to bottom. Hold the grater at a 45-degree angle and squeeze the solution. Don’t worry about staining the surface of the tile. We will clean it later.
When you slide it over the tile, press it into the seam. Collect a large amount of grout from the surface of the grinder tile and spread it in other places, use it repeatedly and apply it on the grout. When this part is complete, wipe the tiles quickly with a sponge and clean cold water before continuing to the next part.
Also read: How to unblock the nose.